最終更新日 2026-05-01
「hmPS・PowerShell」のFormやGUIのコンポーネント
概要
C# のクラスと同じような形で実装します。
フォームの実装
以下のようなファイルをwinform.psとして作成してみましょう。
文字コードはutf-8です。
[System.Reflection.Assembly]::LoadWithPartialName("System.Windows.Forms")
class MyForm {
[int] $counter;
[System.Object] $form
[System.Object] $btn
SetForm() {
$this.form = New-Object System.Windows.Forms.Form;
$this.form.Text = "こんにちわ";
}
[string]$filename2
SetButton() {
$this.btn = New-Object System.Windows.Forms.Button;
$this.btn.Text = "クリック";
$this.btn.Left = 16;
$this.btn.Top = 16;
$this.btn.Width = 100;
$this.btn.Height = 40;
$this.btn.Tag = $this;
# イベントハンドラも作れる
$this.btn.Add_Click({
($sender, $event) = ($this, $_);
btn_Click($sender, $event);
});
$this.form.Controls.Add($this.btn);
}
Show() {
$this.counter = 0;
$this.SetForm();
$this.SetButton();
$this.form.ShowDialog();
}
}
function btn_Click($sender, $event) {
$sender.Tag.counter++;
# デバッグモニター用の関数
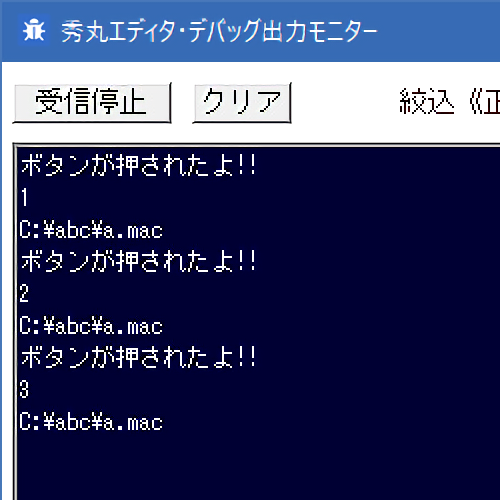
$hm::debuginfo("ボタンが押されたよ!!");
$hm::debuginfo($sender.Tag.counter);
# 秀丸マクロの「変数」とのやりとりも自由自在
($filename2) = $hm::Macro::Var['filename2'];
$hm::debuginfo($filename2);
# 秀丸マクロの「変数」とのやりとりも自由自在
$hm::Macro::Var['$counter'] = [string]$sender.Tag.counter
# PowerShellの中から秀丸マクロを一連のコマンドとして実行することも出来る。
# PowerShellには「ヒアドキュメント」が使えるのでちょうどよい
$hm::Macro::Eval(
@'
// アウトプット枠へ出力
#OP = loaddll("HmOutputPane.dll");
#ret = dllfunc(#OP, "Output",hidemaruhandle(0), $counter);
freedll(#OP);
'@ );
}
$f = New-Object MyForm;
$f.Show();
呼び出すマクロ
上のファイルを呼び出すマクロを記述し、適当に秀丸に登録して、
実行してみましょう。
マクロファイルは、utf-8(BOM付必須)で保存してください。
#PS = loaddll( hidemarudir + "\\" + "hmPS.dll" );

#_ = dllfuncw(#PS, "DoFile", currentmacrodirectory + "\\winform.ps" );
// 解放
freedll(#PS);
実行イメージ